
Tie dye is a popular activity that spices up old or plain white clothing with brightly colored dyes!
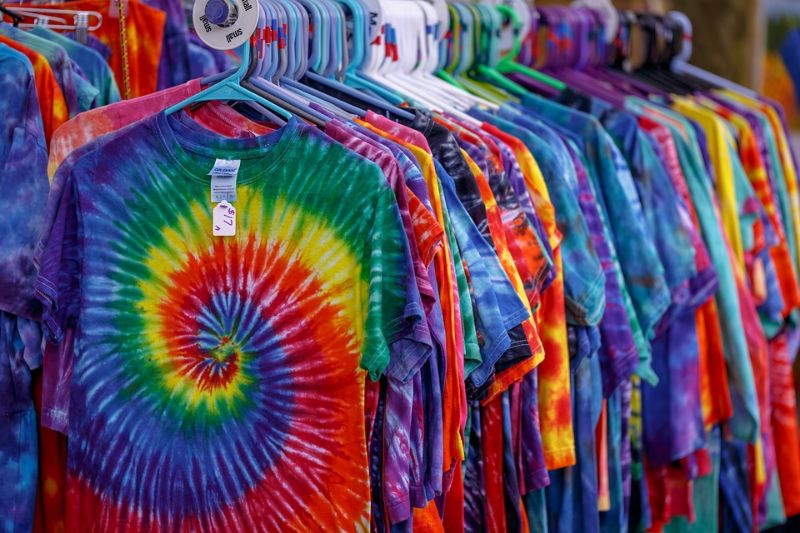
Photo credit: KarolOlson
Below is a detailed step-by-step guide on how you and your kids can tie dye a shirt that includes bonus methods and a tip to make dyeing easier.
What Is Tie Dye and Can Kids Do It?
Tie dyeing has been popular since the 1960s and is named after the two essential steps in the process: tying and dyeing. Tie dyeing is where you produce a pattern on a cloth or garment by tying it in certain ways and applying dyes.
Kids can absolutely tie dye! Of course younger kids will need more adult supervision, but children as young as 3 years old can help with the application of the dyes.
Materials Needed
– 100% cotton shirt
– Tie dye kit of your choice (I recommend Tulip’s easy to use kit)
– Rubber bands
– A bowl or bucket
– Disposable gloves (some kits already come with these)
While using a 100% cotton shirt is recommended, you can still use other garments with a high percentage of cotton. Check out my post on the 32 best shirts for tie dye for more ideas on this!
For an easy-to-use tie dye kit, I would recommend Tulip’s one-step tie dye kit as it already comes in squirt bottles and does not require mixing a separate batch of soda ash. However, you can use any tie dye kit you’re comfortable with.
Before Dyeing, Remember To:
Pre-Wash Your Shirt
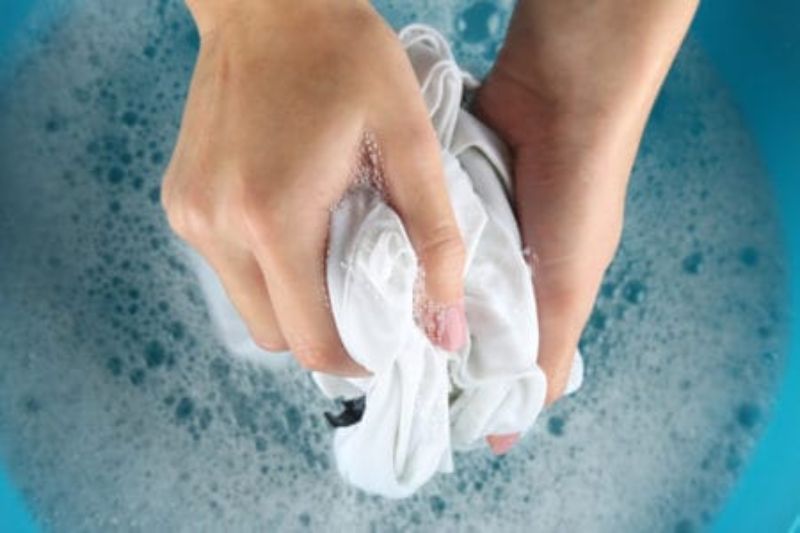
Photo credit: Oh So Spotless
To remove any residue and make a new shirt shrink, make sure to wash your shirt without fabric softener. This will help make sure that any residue that may hamper how the fabric absorbs dye is removed.
Preparing Yourself and Your Workspace
Wear gloves, work in a place that will not be damaged or stained by the dye, and, to preempt the dye staining your clothes, wear old clothes as well! I recommend doing this outdoors if possible, and always have a grown-up help or supervise kids when tie dyeing.
Apply Soda Ash (Optional Depending on the Kit)
Soda ash is a chemical that helps fabric absorb dye better, making this useful if you are working with fabric combinations that have polyester.
Tulip’s kit already has soda ash mixed with their dyes, but you can still use soda ash if you want to ensure that your shirt bonds with dye even better.
All you need is to do is fill a bowl or a bucket that is large enough to fit your shirt with warm water (take note of the measurement) and add about 8 ounces of soda ash per 1 gallon of water (or however much your kit’s instructions says).
Then, submerge your shirt in the soda ash/water mixture for about 15-30 minutes. Wring it out before you start dyeing.
Choose A Pattern
There are many patterns kids can choose from when tie dyeing. Here are three of the easiest and most common patterns kids can do.
The Crumple

Photo credit: Fave Crafts
Starting off with the easiest, the crumple only requires you to scrunch up the shirt into a mound as tight or as loose as you want. Then, all you have to do is wrap it in rubber bands and dye away!
The Bullseye
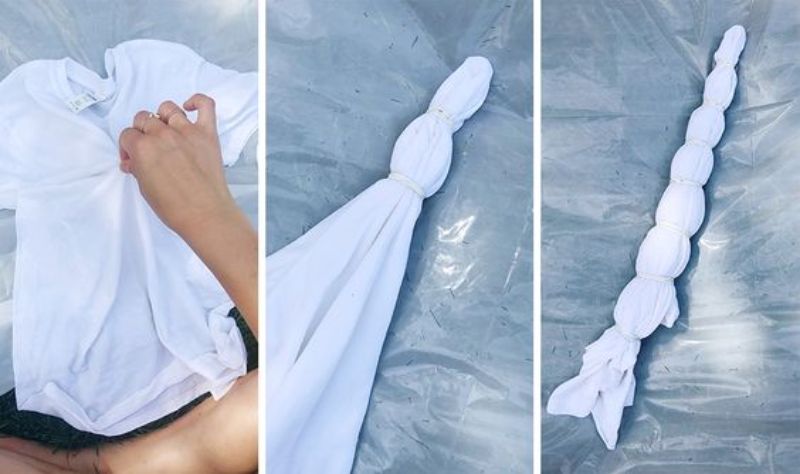
Photo credit: The Neon Tea Party
This is probably the most popular pattern out there, and all you need to do is to pinch the center of the shirt (or wherever you want the bullseye pattern to show). Pull it upward and tie rubber bands about 1-2 inches apart.
The Spiral
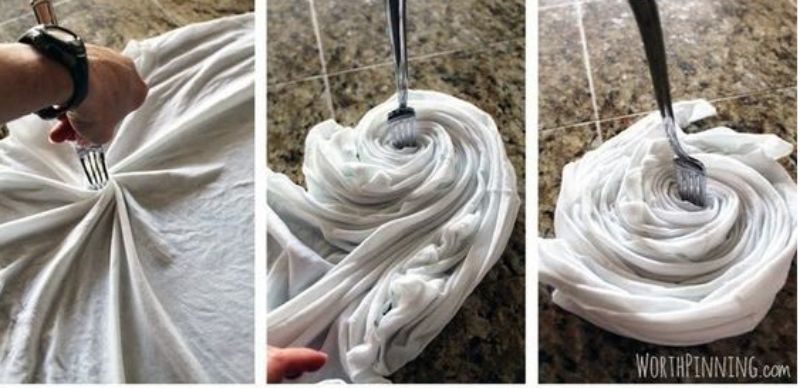
Photo credit: Life Buzz
Another easy pattern to do. Just locate the center of your shirt or where you want the spiral to start and twist until your shirt is spiral shaped. Wrap at least three rubber bands around the spiraled shirt, crisscrossing each to form 6 wedges.
For even more patterns, visit By Stephanie Lynn.
Tip For An Easier Tie Dye Experience For Kids
If you want a slightly less chaotic application of the dye, you and your kids can try using masking or electrical tape and tape over your shirt to form patterns. Squirt the dye over the shirt, peel the tape off once it’s dry, and voila!
You can also get something like Tulip ColorShot (pictured below) that comes in a spray can! If you are using spray cans, however, I strictly advise you and your kids wear face masks and goggles.
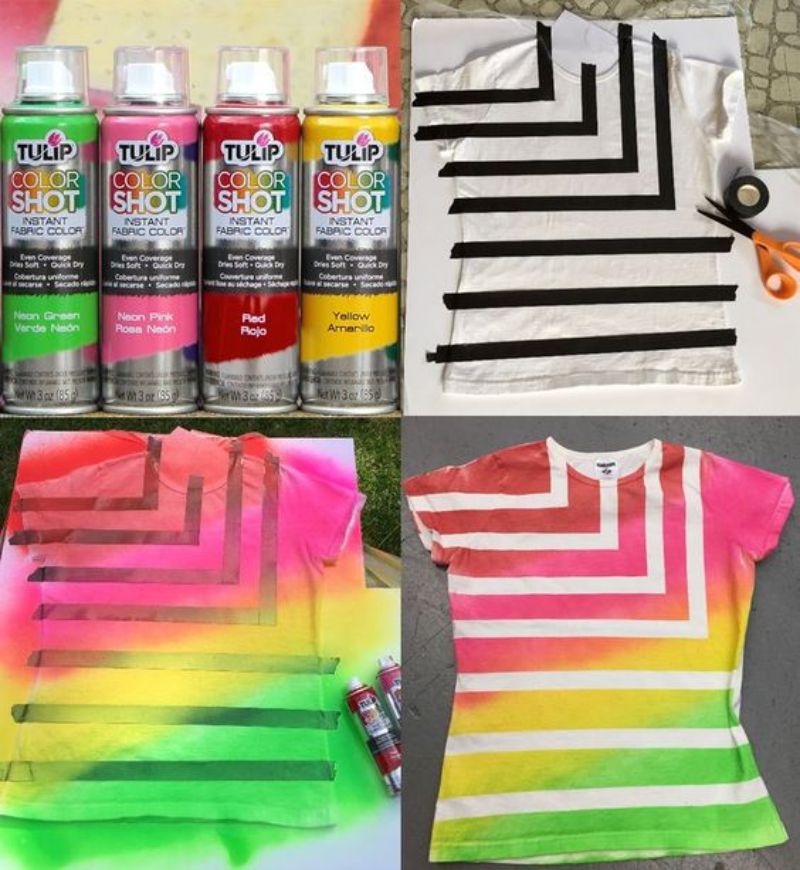
Photo credit: JOANN
While this does remove the “tying” part, it’s still a fun and easy way to add color to your shirts.
Now, Let’s Get Dyeing!
Here are 5 steps to follow when tie dyeing.
1. Mix the Dyes
Follow the kit’s instructions with regards to the water to powder ratio. For dyes that come in canisters, I suggest putting them in squeeze bottles once mixed to give you more precision when dyeing. It also helps make it easier for kids to apply them.
2. Apply the Dyes
Now starts the fun part! Application of the dyes will depend on the pattern you chose. If you chose the crumple, then you and your kids can randomly apply the dye while leaving white areas as seen in this image:
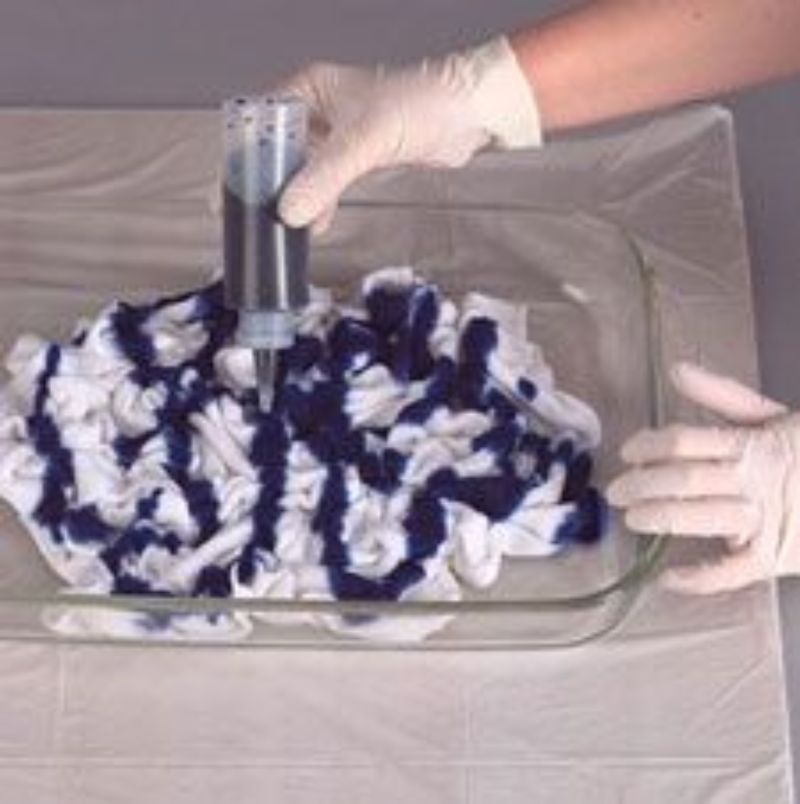
Photo credit: Fave Crafts
If you decide to go with the bullseye or spiral patterns, then you’ll have to apply the dye/s in the different sections separated by the rubber bands (be sure to dye both sides for the spiral pattern) as seen in these images:
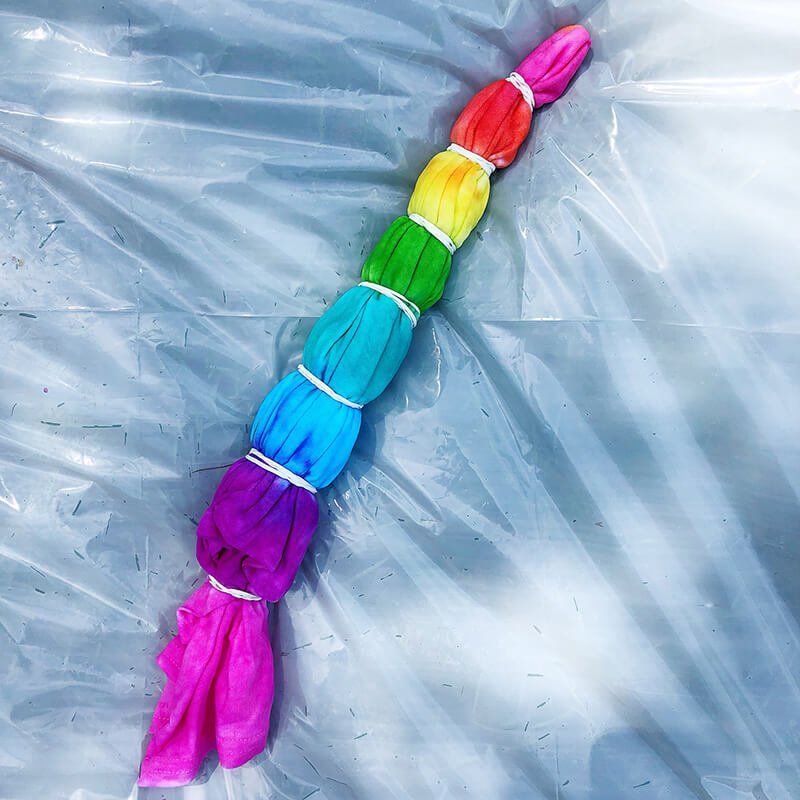
Photo credit: The Neon Party
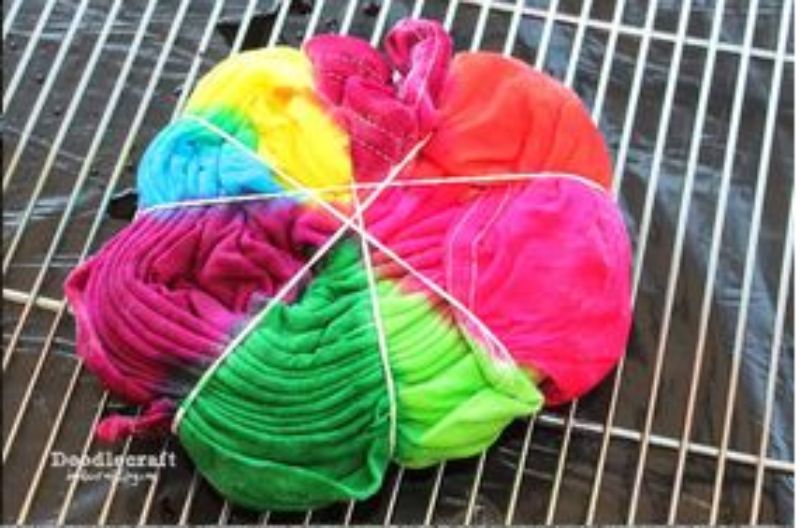
Photo credit: Doodle Craft
Of course, you can mix different colors within each section or even let them bleed out to other sections. However, do be careful not to oversaturate the shirt or you might end up with no texture or a predominantly brown color!
3. Let the Colors Set
WARNING: Do not unwrap the shirt just yet!
Depending on the kit you use, letting the colors set will require you to either put the shirt over a wire rack and let the excess dye drip, or seal it in a Ziploc or plastic bag for 8 (if you are in a hurry) to 36 hours (to ensure the best odds the dye bonds with the fabric).
4. Rinse Out the Dye
The kit you use will also determine how you rinse your masterpiece, but what you usually do is rinse the dye out while the shirt is still bound with the rubber bands and unravel it while doing so. Don’t be alarmed with the black goo that pours out – just keep rinsing the shirt until the water runs clear.
Afterwards, wring the shirt out and you should have shirts that look like these:
The Crumple
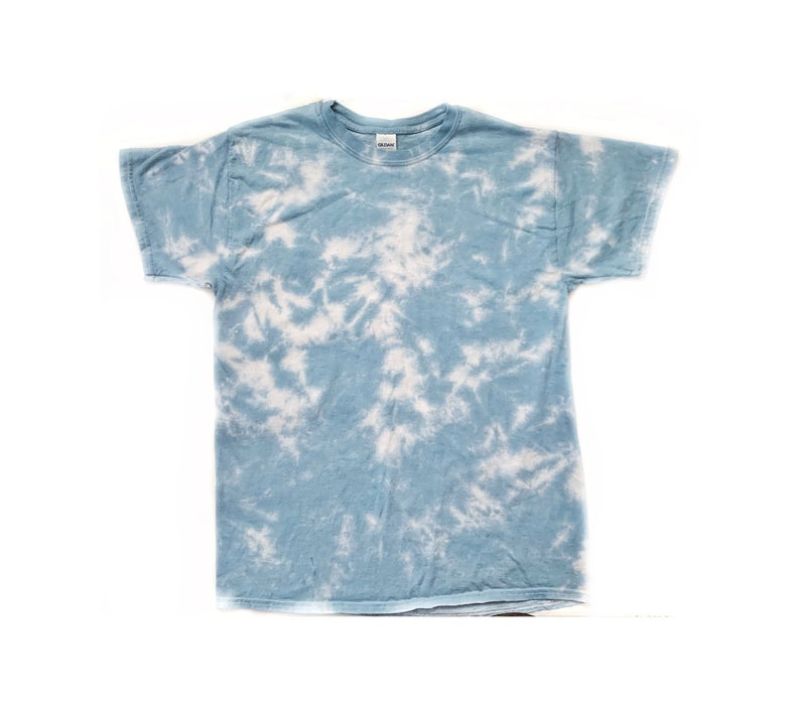
Photo credit: JakesTieDye
The Bullseye
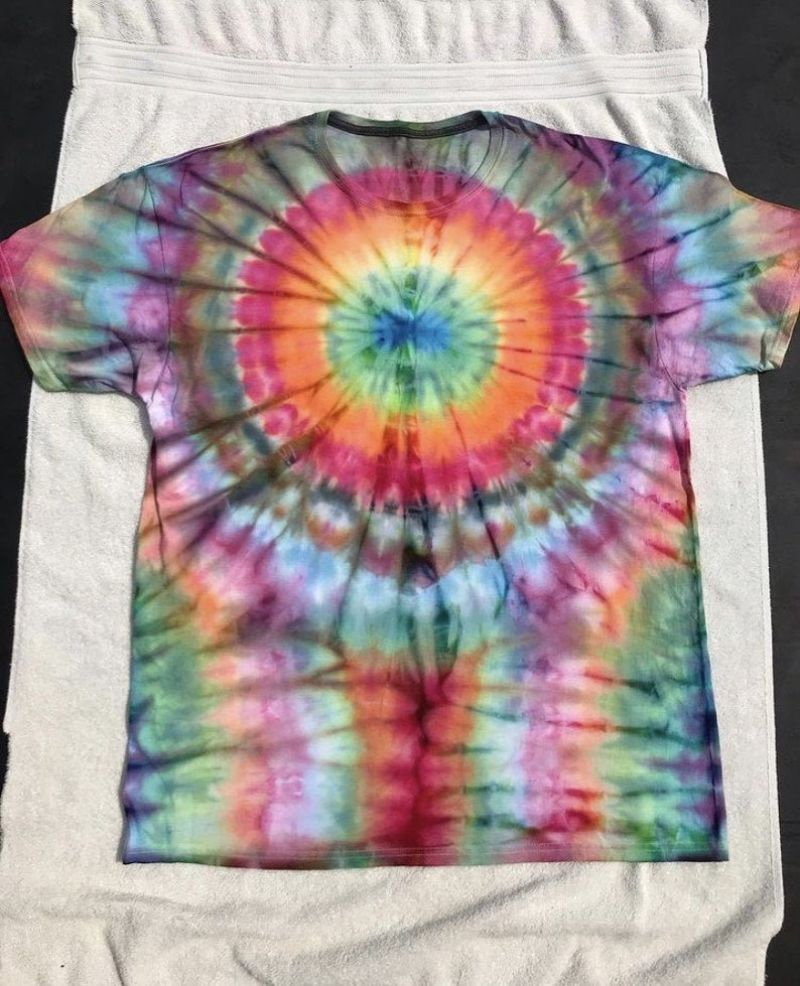
Photo credit: OddLittlePlace
The Spiral
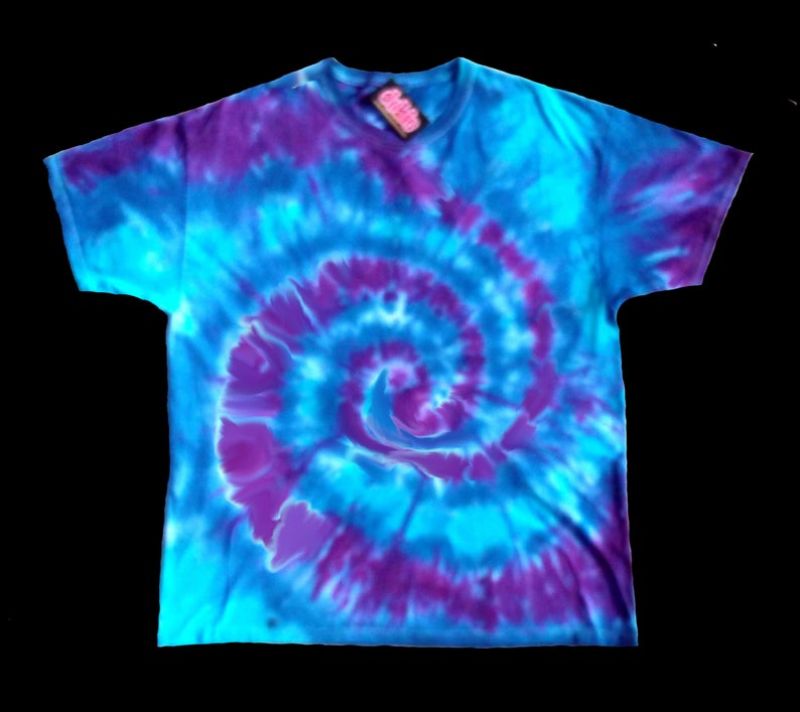
Photo credit: DubieTieDyeandHemp
Pretty neat, right?
5. Washing
After rinsing, wringing it out, and admiring your work, you can now wash the shirt. I recommend washing it by itself for the first few times until you’re comfortable washing it alongside other laundry (you can’t be too safe).
Bonus Tie Dye Methods
Once you get the hang of tie dye, here are two other methods you can use.
Ice Tie Dye Method
For this method, the things to keep in mind are that this works best with the crumple pattern and utilizes the powder form of the dye.
After scrunching up your shirt, lay it on a wire rack that’s over a sink or bucket, cover the shirt in ice cubes, and sprinkle the dye powder over the ice.
Once that’s done, wait until the ice melts and let the shirt soak a bit inside a plastic bag like normal.
While this requires more waiting, the utter randomness of this method makes beautiful designs!
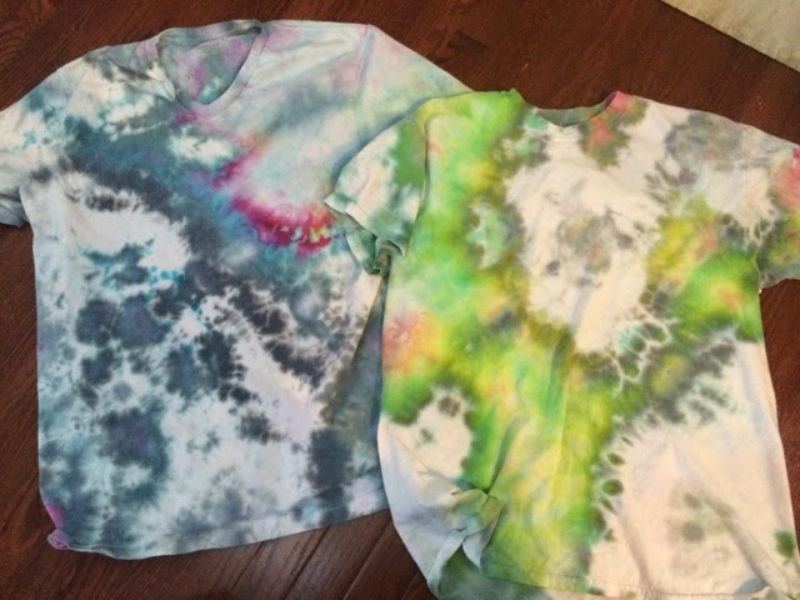
Photo credit: DIYDanielle
For more details on this method, check out DIYDanielle.
Itajime Shibori Tie Dye Method
Itajime shibori is where the fabric is folded and sandwiched between two blocks (usually square blocks made from wood). The shape of the blocks prevent the dye from penetrating the parts of the fabric they cover.
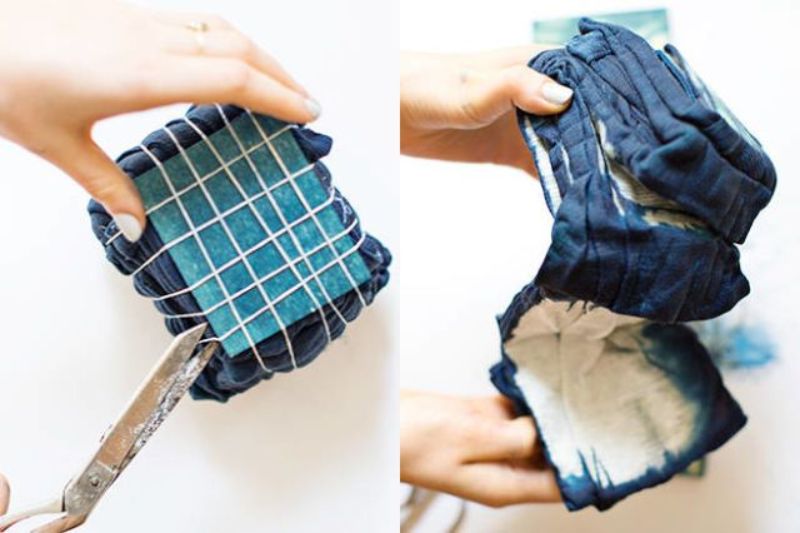
Photo credit: Elle
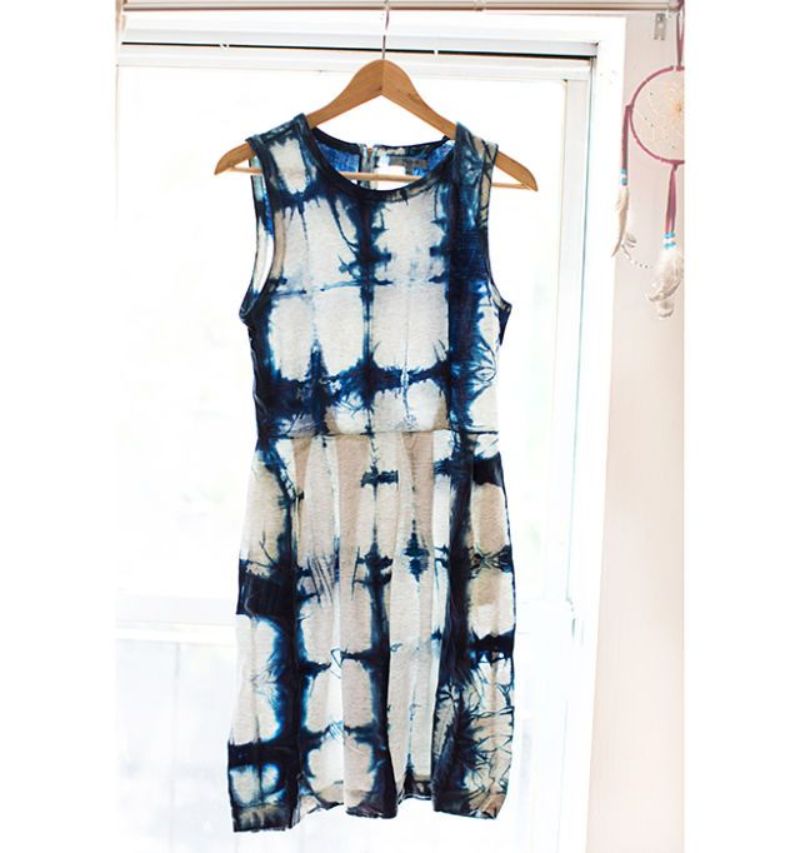
Photo credit: Elle
This method leaves the chosen shape as the pattern. For more details on the itajime shibori method, check out Elle.com.
A Splash of Color, a Dash of Creativity, and a Bit of Chaos!
Have a fun and colorful day with these easy to follow tie dye steps that will make you and your kids want to tie dye for days!
For a twist on the traditional tie dye craft, check out my article on how to tie dye using bleach.
Have you tried making your own tie dyed shirt? Tell me in the comments below!