Having a 4-year old and a 6-year old under one roof isn’t always easy because they’re always on the move.
As a busy parent, I needed to find a good solution to keep my kids not only busy, but still.
That’s why I’m sharing these 8 easy DIY homemade instruments with you – not only are they a hit with the kids, they’re a great activity for when you just need to sit down for a while.
Each instrument on this list includes a brief description of the appropriate age group, materials needed, and how-to instructions.
DIY Instruments for Kids – Because Happiness is Homemade
Kids love to work with their hands. Between the ages of 3 and 6, they’re at the stage of discovery and exploration. When kids discover that they’re actually capable of creating something, they want to show it off. They want to earn an adult’s seal of approval, especially their parents’.
These homemade musical instruments may not produce the best sound according to musical standards, but hearing my children’s happy laughter was music to my ears.
I hope this list of homemade instruments for kids brings happiness to your home, too.
If you’re new to crafting, don’t worry. Included with each craft on this list are detailed instructions on how to make the instrument.
1. Balloon Bongos
Kids love to dance to the beat of their drum, literally and figuratively. Any parent will have experienced their kid banging on something – plates, tables, computers, and a whole lot more. So this balloon bongo is perfect for children who love to bang on things, especially toddlers.
Who it’s for: Ages 3 to 6 years.
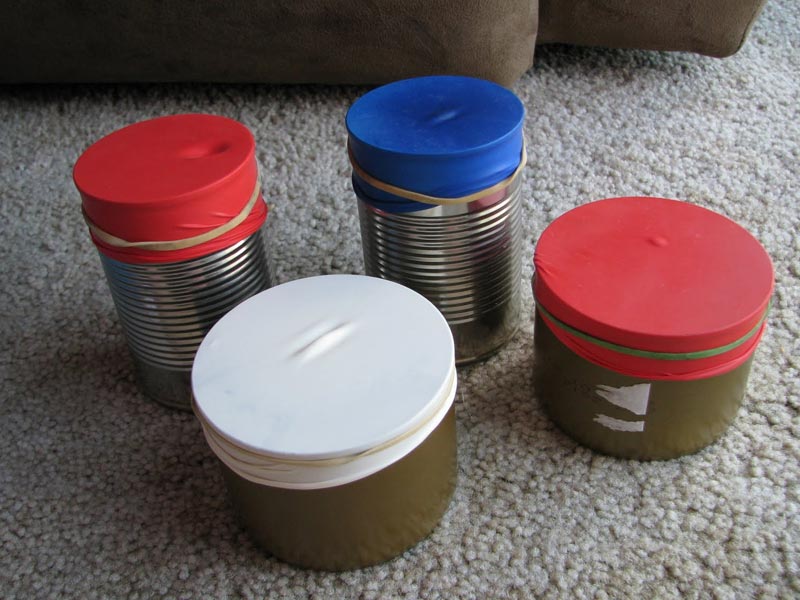
What you need: This homemade instrument requires clean and empty tin cans. Make sure there are no sharp edges. You will also need balloons, elastic bands, and a pair of chopsticks to use as drumsticks.
How to make them: Cut the end of a balloon and stretch it over the open side of a tin can and secure it using an elastic band.
2. Rainbow Bottle Xylophone
One of the easiest instruments to make at home is this bottle xylophone.
This project is a great learning opportunity that combines music and science. Kids of all ages will have so much fun learning how different sounds are made simply by changing the volume of water inside each bottle.
Who it’s for: Ages 5 years +
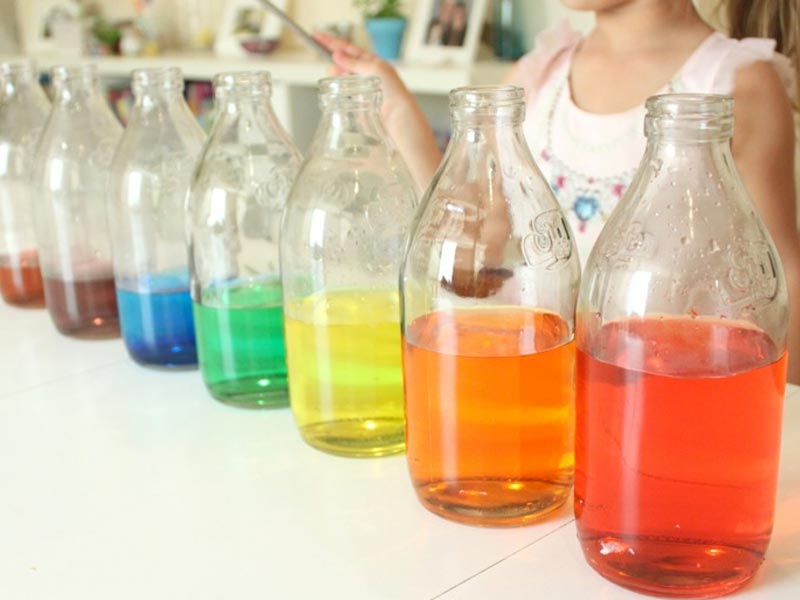
What you need: You’ll need at least six empty glass bottles of the same size.
Make it even more fun by choosing different colored bottles. If you don’t have colored bottles, add food coloring to the water. You’ll also need a spoon to tap the bottles with.
How to make them: Fill the glass bottles with water, filling each bottle with less water than the previous one.
Using a spoon, tap the bottles and observe the different sounds they each make!
3. Cereal Box Guitar
By using materials that people already consider trash one can find an unexpected treasure, and this DIY instrument will teach kids the value of recycling.
Plus, this cereal box guitar will unleash your child’s inner rockstar.
Who it’s for: Ages 3 years +
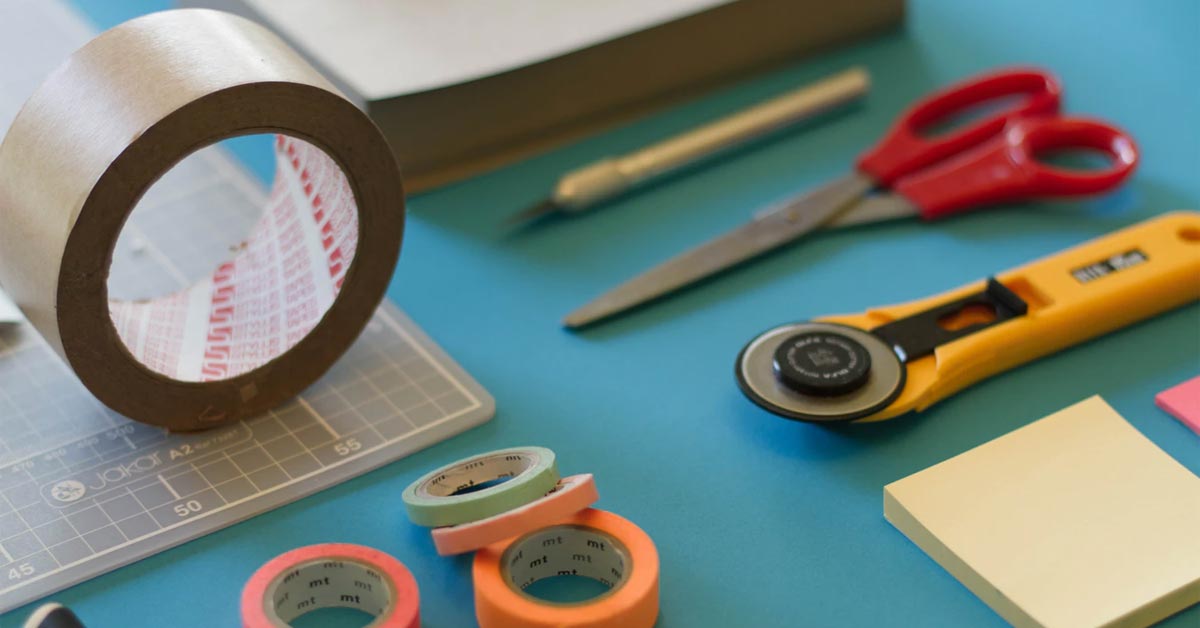
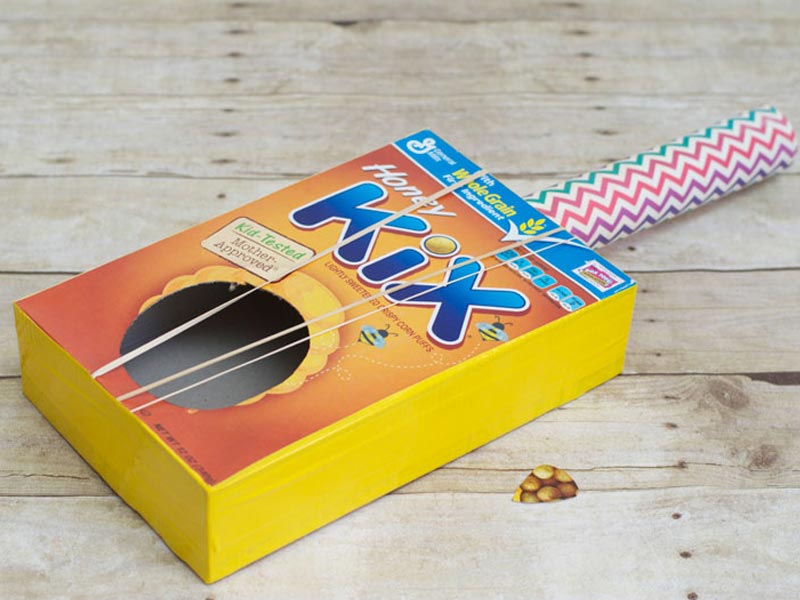
What you need: An empty cereal box, an empty paper towel roll, six elastic bands, and a pair of scissors.
How to make them: Start by cutting a large circle at the center of one side of the cereal box. Punch six small holes, a half-inch apart, at the top and bottom part of the circle.
Next, cut six elastic bands and thread each through the holes, top to bottom. From the inside, tie each end into a knot to secure it in place.
Either at the top or bottom of the box, cut a hole big enough to fit the empty paper towel roll. This will serve as the guitar’s handle.
4. CD Cymbals
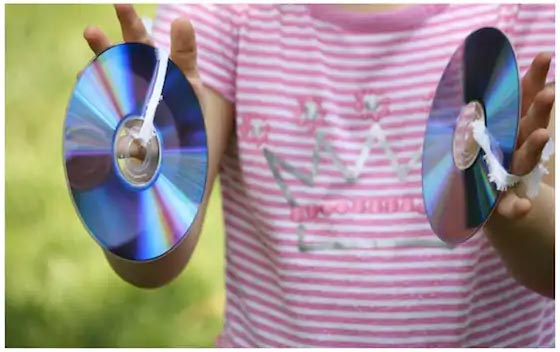
Wanna give your kids the experience of playing cymbals without having to suffer through super loud clanging?
Here’s a quieter alternative that’s just as fun but not as deafening. Finally put those old compact discs gathering dust in your garage to good use!
Who it’s for: Ages 3 to 5 years.
What you need: Two CDs and two strips of fabric.
How to make them: Loop a strip of fabric through the center hole of one CD and tie both ends together to make a strap. Repeat the same process with the other fabric strip and CD so that you end up with a pair of cymbals.
Insert your child’s hands through the fabric straps (make sure they fit snugly) and strike the CDs together in a clapping motion to make “music.”
That’s it!
5. Easter Egg Maracas
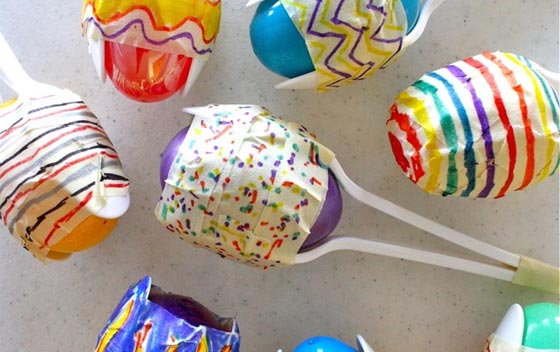
These Easter Egg Maracas are the perfect after-Easter kid’s craft.
Now you don’t have to worry about what to do with all those leftover plastic eggs anymore!
Children will enjoy playing with these maracas, but they’re fun for the whole family, too. It’s time to take out those dancing shoes and shake, shake, shake!
Who it’s for: Ages 3 to 8 years.
What you need: For this homemade instrument you’ll need plastic spoons, plastic Easter eggs, white tape, popcorn kernels, and markers. Alternatively, you may use lentils, beans, or rice instead of popcorn kernels.
How to make them: Fill a plastic Easter egg with popcorn kernels.
Close the egg and insert it between two spoons that are facing each other, then wrap tape around the outside of the spoons so that the egg stays in place. Next, bring the ends of both spoons together and secure them with tape to keep them from separating.
Voila – you have a maraca!
For added fun, wrap tape around the entire Easter egg maraca and decorate it with markers. Let your kids go as crazy as they want – their imagination is the limit!
6. Japanese Pellet Drums
These Japanese pellet drums will make great additions to your growing collection of homemade musical instruments.
Be warned, though. It’s an activity that can get messy, but is nonetheless simple and fun. Plus, you know how it is with kids – the messier things get, the happier they are.
Who it’s for: Kids aged 5 years old and above can easily make these drums, but younger ones will also enjoy playing with them.
What you need: These drums require paper plates, kids’ paint, a paintbrush, a wooden dowel cut to size, small bells, string, and tape.
How to make them: First, paint the back portion of two paper plates with your choice of colors. Once the paint is dry, securely tape a wooden dowel to the inside of one of the paper plates.
Next, cut two pieces of string to the desired length and tie a small bell to the end of each one. Make sure the bells will strike the face of the paper plates when you turn the dowel back and forth.
Punch a hole just big enough to thread the string through on either edge of the paper plate with the attached dowel. Thread the end of each string through each hole and tie a knot to secure it.
Tape both paper plates together with the painted sides facing outwards. When done, test it out by putting the dowel between both your palms and turning it. The bells should swing and hit the face of the paper plates.
7. Mini Banjo
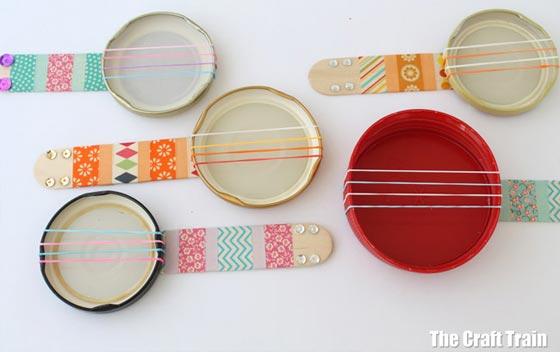
This mini banjo is perfect for small children who love to play with their hands. Unlike a cereal box guitar, which can be a bit complicated, this homemade instrument is easy to make.
Who it’s for: Ages 3 to 5 years.
What you need: Jar lids, washi tapes, jumbo popsicle sticks, colorful loom rubber bands, craft glue, and duct tape. Add optional sequins for decoration.
How to make them: Stretch four loom bands around a jar lid and ensure the loom bands are evenly spaced. For added security, tape the bands to the back of the jar lid with duct tape.
Next, cut off one end of a jumbo popsicle stick and decorate it using washi tape.
This will serve as your banjo’s handle. Using duct tape, attach the top of the jar lid to the stick. Further decorate your banjo with sequins!
8. Singing Straws
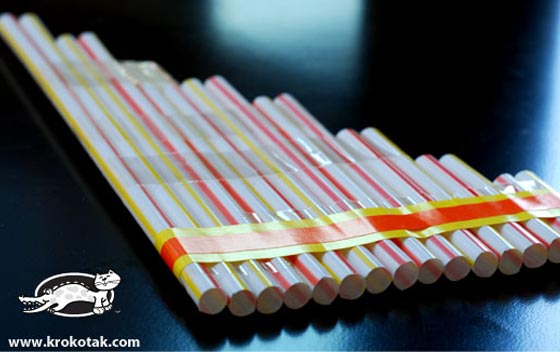
I’ve saved the best for last. Singing straws are the easiest to make instrument on this list that you and the kids will have hours of fun playing with.
Who it’s for: Ages 5 +
What you need: You’ll need at least six drinking straws, a pair of scissors, and tape.
How to make them: Cut the drinking straws into different lengths.
Place them side-by-side, from shortest to longest, and tape them together. To make sure they don’t move around, wrap the sticks several times with tape. Make music simply by blowing on them!
See how easy that is?
Music is a Universal Language
Whether the music comes from a $3,000 Les Paul guitar or from one that’s made out of a cereal box, for a child, music is music.
By teaching our children how to make instruments at home, we give them the gift of one-on-one time with their parents. The value of these homemade instruments is amplified by the fact that they were made with love.
So go ahead – pick one (or two or three) of these homemade instruments and make some beautiful music with your kids this weekend.
Looking for a quieter craft to do with the kids? I compiled a list of the 10 best cotton ball crafts for kids you can find online.